Chat Interface
Use the chat interface for interactive work: compare model responses, attach one-time context, use a Knowledge Base, and review or share previous conversations. For repeatable application workflows, use the API instead.
Select a Model
The chat interface provides a dropdown from which you can select the model you want to use. This list includes both the base models available to all users and any custom models you have created. Custom models appear alongside the base models once they have been configured in the Workspace.
If you would like to compare outputs across models, you can select multiple models at once. Your prompt is sent to each selected model simultaneously and the responses are displayed side by side. This is useful for evaluating differences in tone, accuracy, or capability across models before committing to one for a longer workflow.
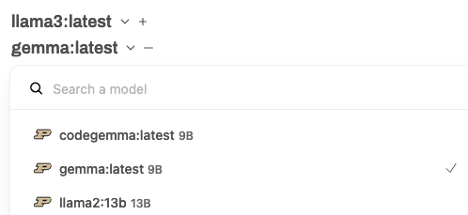
If an open-weight model you need is not listed, submit an ACCESS Help Desk ticket with the model name, upstream model page, and intended research use. RCAC will review whether it can be hosted on the shared service.
Send Messages
To send a prompt, type it into the message bar and submit it. In addition to plain text, the interface supports two audio modes: a microphone button for speech-to-text transcription, and an audio wave button that enables a two-way voice conversation in which the model also responds with speech.

You can attach a document directly to a chat message to give the model specific context for that exchange. This is appropriate when you need to reference a file on a one-off basis. If you want that context to persist across sessions or be reusable across chats, upload the document as a Knowledge Base or attach it to a custom model instead.
Use Knowledge in a Chat
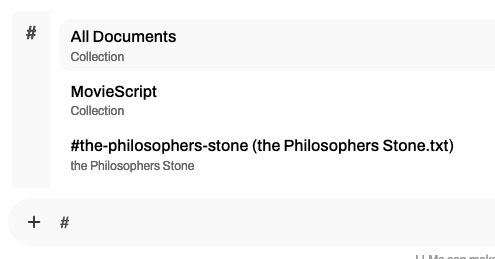
To reference a Knowledge Base that you have already uploaded in the Workspace, type # followed by the name of the Knowledge Base before entering your prompt. This pulls the relevant documents into the context of that specific chat session without requiring you to re-upload anything.
Work with a Response
When you receive a model response, you can take various actions, including editing, copying, or reading the response aloud, and you can view generation statistics using the options available at the bottom of the response.

Adjust Chat Parameters and the System Prompt
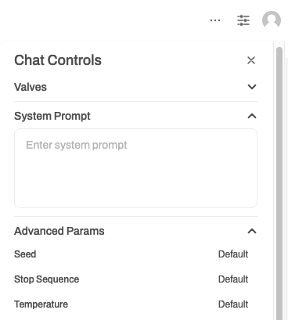
From the top-right controls of the chat screen, you can adjust model parameters such as temperature and set a custom system prompt for the current session. Changes made here apply only to the active chat and are not saved after the session ends. To make these settings persistent, define them in a custom model through the Workspace.
Use Chat History and Sharing
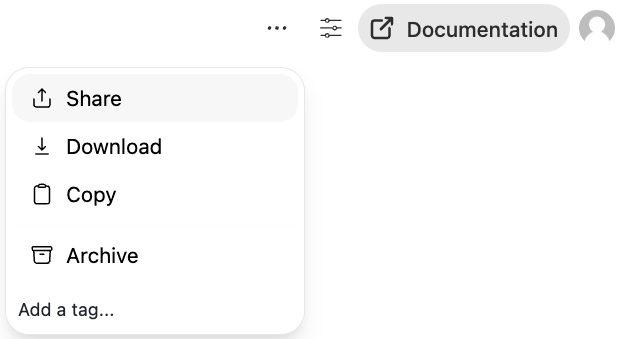
Your previous chats are accessible from the left sidebar. By default, chat links are tied to your account and are not visible to other users. If you need to share a chat, for example to include it in a report or share it with a collaborator, generate a shareable link from the chat options menu by clicking the three-dot icon next to the conversation.
Before copying the link, review its access setting in the share dialog:
- Private grants access to selected AnvilGPT users or groups. They are not notified, so send them the generated link separately.
- Public grants access to any AnvilGPT user who has the generated link.
Both modes require an active AnvilGPT account and ACCESS authentication through CILogon; unauthenticated sharing is not available.
Review the audience before sharing
A share link is not a substitute for access control. Review the complete conversation, remove sensitive or unpublished information, and select the narrowest audience that meets your need. The link can be forwarded, but only users permitted by the selected access mode can view the conversation.
The resulting link has this form:
Note that the default link shown in your browser address bar is not shareable. You must use the dedicated shareable link generated from the menu.
To revoke access, reopen the chat's share dialog and remove the grant or return the link to Private.